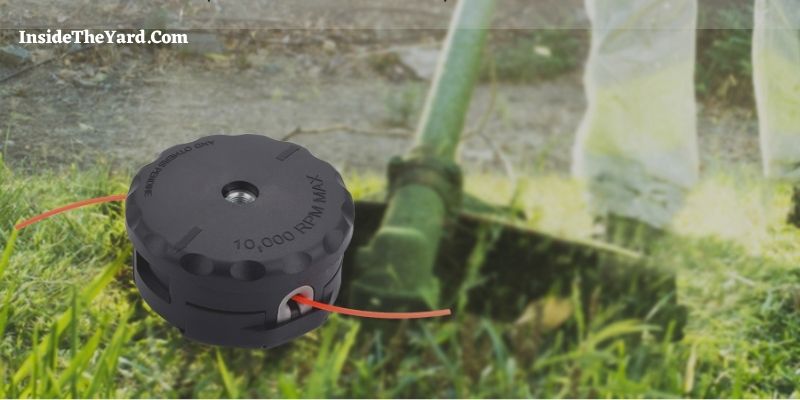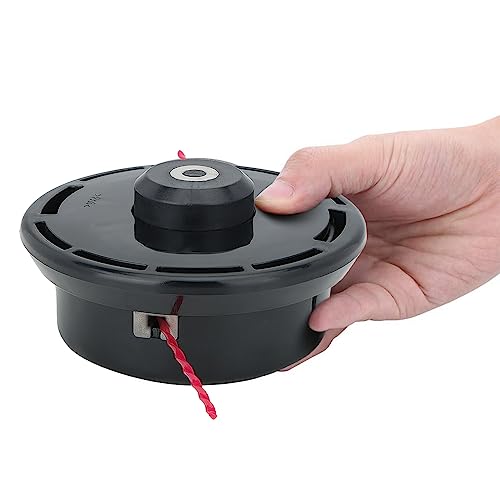
Do you know you need to clean or change the trimmer head of your Redmax weed eater? Now, got frozen; how to replace RedMax trimmer head? You just need to unlock the trimmer head by spinning it and then attach a new one. And we have explained this very vividly here.
People often use a weed eater to trim or brush their lawn areas. Most of them don’t know that the trimmer head must be replaced or cleaned to get the best output after a particular time.
But you must know the proper way to do that; otherwise, you will end up damaging your Redmax weed eater.
How To Replace RedMax Trimmer head
First of all, you must know about the RedMax weed eater parts.
There are mainly two parts to a weed eater. One contains the engine to power the machine and the handle.
And the other part includes a guard and the trimmer head.
Before replacing, get a new trimmer head from online or nearby hardware shops. You can either buy the OEM or an aftermarket trimmer head like the Panari Trimmer Head for Redmax, which is rigid enough.
Now let us enlighten you about the process with some easily explained steps.
First Step: RedMax Trimmer Head Removal
Before stepping to commence, have some necessary tools like a screwdriver.
After that, start according to the steps-
- Search for a locking hole on the joint between the trimmer head and the shaft
- Get a screwdriver or a nail or something like that to lock the hole.
Remember, no matter how many times you spin the head, it won’t unlock if you don’t lock the hole.
- After locking the pit, twist the trimmer head and spin it anti-clockwise.
- The trimmer head will come out.
- After opening the trimmer head, you can find some grass materials stuck on the disk. You can clean it and attach the same trimmer head for further use. But if you have been using the trimmer head for a long time, it is better to replace it with a new one.
Second Step: Attaching the New Trimmer Head
Now, installing the new head trimmer.
- Check the joints, outer surface and strings of the trimmer head.
- Connect the head with the joint plate on the shaft
- Lock the locking hole with a screwdriver or nail or something like that. If you don’t do that, the trimmer head won’t attach.
- Now spin the head clockwise and tighten the head.
There you go. Your new RedMax trimmer head is locked and ready to use.
Give the whole machine a quick check and turn it on. Use it for a while to see the difference in results after attaching the new trimmer head.
How to Change String of the RedMax Trimmer Head
Oh, do you need to change the string in your trimmer head as well? It will save you the cost of buying a new trimmer head. You can buy those strings from any hardware store or online and attach them easily with the trimmer head.
To change the String-
- Pull out the inside part of the trimmer head and get rid of the old string.
- Now grab your new string and make a “U” shape with them so that both ends are the same.
- Search for a small loophole on the surface.
- Attach the middle point of that “U” on the loophole and start winding the string on that round surface.
- When you reach the finishing edge of the string, turn both ends to the opposite direction.
- Lock the inside part into the trimmer head.
And your weed eater is ready to use.
This Video Will Help You Too!
Frequently Asked Questions (FAQs)
Can you change the head on an electric trimmer?
Of course. You can change the head on both electric and gasoline trimmers. The method is the same.
How do you put a universal trimmer head-on?
You can put on a universal trimmer head in the same way as the general ones. Lock the locking hole using a nail or screwdriver. Rotate the trimmer head anti-clockwise to remove. Connect a new one and spin it clockwise to attach tightly with the shaft.
Can I clean my trimmer with water?
Yes, you can use water and detergent also to clean your trimmer head.
What is a fixed line trimmer head?
In a fixed-line trimmer set, you don’t need long strings winding. There are individual lines that you can load and use one after another.
Summing Up
So, now you know how to replace RedMax trimmer head. We also added a small part on how to change the strings on the trimmer head. Think of that as a bonus.
If you follow the whole article, you will be able to easily change the trimmer head on your RedMax weed cutter machine without any hassle.
And always remember to maintain your machines. Cleaning and washing are important so that they give you a long-lasting service.
Also, while buying parts for machines, be careful to buy them from a trusted supplier. Check the parts properly each time you buy them.
And thank you for going through the whole article.
You Can Also Read:
- Get a Clear Idea on Different Sizes String Trimmer Line Color Code
- [+Video] Step By Step Process to Dewalt Trimmer Head Upgrade
- Echo Trimmer Head Problems [Top 5 Fixes That Will Change The Trimming Game]
Was it helpful?

Enamored with the world of golf Jack pursued a degree in Golf Course Management at THE Ohio State University. This career path allowed him to work on some of the highest profile golf courses in the country! Due to the pandemic, Jack began Inside The Yard as a side hustle that quickly became his main hustle. Since starting the company, Jack has relocated to a homestead in Central Arkansas where he and his wife raise cattle and two little girls.


