")
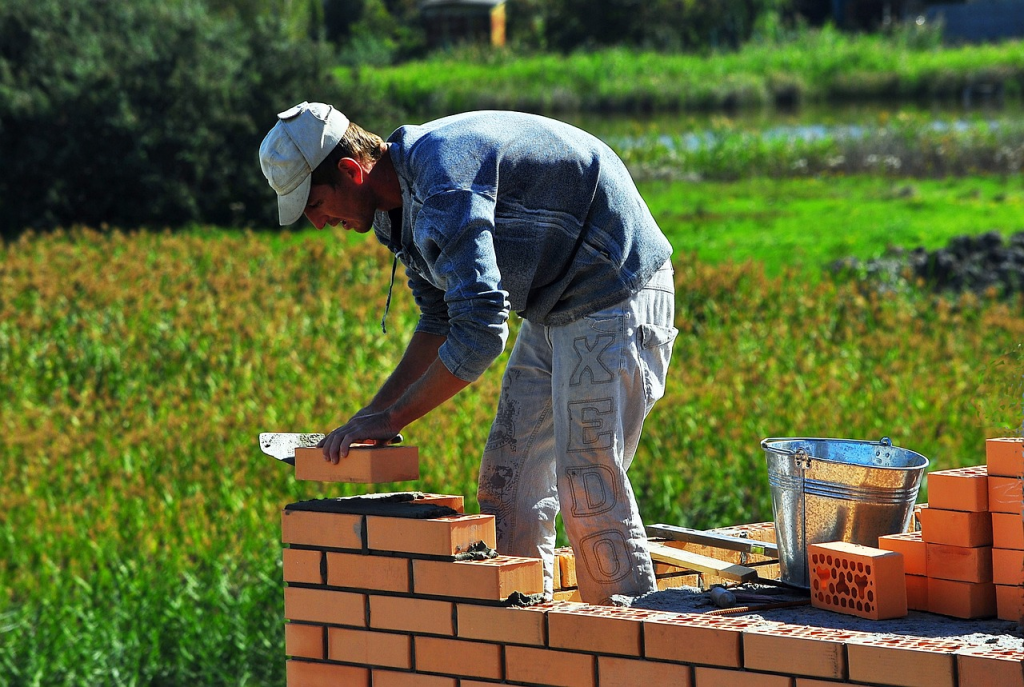
Raised garden beds can be made from many different materials. One of the most effective and durable choices is brick.
Building a brick raised garden bed in your backyard is an excellent way to make your outdoor space more visually appealing. The structure is sturdy, and it doesn’t wear out quickly.
But, most importantly, it’s also beneficial for your flowers.
Brick garden beds can enhance soil quality, reduce maintenance, and extend the growing season. Plus, they provide an ideal environment for dense planting while effectively managing pests and erosion.
Here’s a step-by-step guide to building a brick garden bed for a long-lasting addition to your landscape.
Step 1: Choosing Bricks
When choosing bricks for your raised garden bed, consider their durability and ability to withstand wet conditions. Using bricks that aren’t strong enough may result in a collapse of your garden bed, damaging your plants and causing frustration after all the hard work you’ve put into building it.
Common brick may not be strong enough to withstand moisture and pressure over time. As a result, it’s best to choose bricks specifically designed for outdoor use, such as clay or concrete bricks.
Clay bricks are a popular choice for raised garden beds because they’re durable and visually appealing. They can be stacked or mortared together to create a sturdy structure.
If you plan on using mortar for deeper beds, make sure to use a sand-based residential mortar instead of commercial ones that may contain harmful contaminants.
Before purchasing the bricks, give the material supplier the length and height of your wall so they can provide you with the right amount of materials. You can also purchase special cap bricks for the top course to give your garden bed a finished look.
Step 2: Preparation
Before you begin constructing your beautiful garden bed, it’s essential to properly prepare the area where your new garden oasis will thrive.
Follow these steps to ensure your raised garden bed is built on a solid foundation:
- Create a story pole by marking the height of each course on a pole. It will help you maintain consistency throughout construction.
- Install a level concrete footing with a 12-inch-deep, reinforced, and concrete-filled trench. The trench should be twice as wide as the brick wall to provide stability.
- Place concrete footings every 4 feet along the trench, extending them beneath the frost line for added durability.
- Use chalk guidelines to position bricks in the center of the footing and ensure proper alignment.
- Before laying any mortar, do a dry run without mortar to check spacing and avoid using small pieces of brick in visible areas.
- Mark the locations of the first and last brick for reference during construction.
- Mix a small batch of mortar according to package instructions.
Step 3: Building the Wall
To construct the wall, you must ensure that each course of bricks is level and plumb. It’s crucial for your raised garden bed’s stability and overall appearance.
Here’s how you can achieve this:
- Begin by setting the first two bricks at each end with a 1-inch-thick bed of mortar for each brick. Use a level to check for both horizontal and vertical alignment.
- To mark the level of the first course, use a mason’s line stretched tightly between the two end bricks. It will guide you throughout the construction process.
- For each course, lay down a 1-inch-thick mortar bed on top of the previous layer. Use a trowel to create furrows in the mortar.
- Build a lead by laying six courses of bricks, with each course being half a brick shorter than the one below it. Make sure to level and plumb each course using your mason’s line as a guide.
- Butter one end of each brick where it abuts another brick, then add mortar along all four edges of each face using a swiping motion.
- Duplicate this lead on the other end of the wall, again using your mason’s line as a guide.
- Fill in each course using your mason’s line as a reference for proper positioning and spacing between bricks.
- As you go along, cut any necessary bricks by scoring them with a line and cracking them with a mallet and brick set.
- Continually adjust for levelness and straightness by gently tapping bricks with a mallet and 2×4, making sure to scrape off any excess mortar with your trowel.
- Finish off joints by smoothing out both vertical and horizontal joints using a pointing tool.
- Once the mortar has set, brush away any excess gently and wash away smeared spots carefully with a damp rag.
Step 4: Installing Capstones
Once you have completed building the wall with your chosen stones, it’s time to move on to the next step: installing the capstones.
Capstones not only provide a visually appealing element but also help to secure and stabilize the structure of your raised garden bed.
To begin, make sure you’ve selected the appropriate capstones for your project. These can be either a specific type of stone or the same material as the rest of your planter. The capstones should overhang the underlying courses by about 2 inches on all sides.
Before installing the capstones, check for levelness. Place a straight 10-foot 2×4 over the last course of stones to ensure they’re even and flat.
Once you’ve confirmed everything is level, mark each capstone with a straightedge and cut them to size using a diamond blade for circular saws. Take care in measuring and cutting each piece accurately to ensure tight joints and a professional-looking finish.
After cutting the capstones, set them in place one at a time. It may be necessary to adjust their positions slightly as you go along due to slight changes caused by cutting. Leave gaps between each capstone that are at least 1/4 inch wide for mortar application.
Step 5: Finishing the Wall With Mortar
Now that you have installed the capstones for your brick raised garden bed, it’s time to finish the wall with mortar.
Mix one bag of mortar with water until it reaches a consistency similar to peanut butter. You can do this in either a mortarboard or a wheelbarrow.
Next, remove a few capstones at a time from the top of the wall. Lay down a 1/2-inch-thick bed of mortar over the back half of the wall. Fold the landscape fabric over the mortar and add another 1/2 inch of mortar on top.
Set each capstone back into its place on top of the wall in sections. Adjust them as needed to create tight joints between each stone.
After all the capstones are set in place with mortar underneath and between them, use your pointing trowel to fill in any gaps on top and front surfaces with more mortar.
Let the mortar dry overnight before moving forward.
Once dry, brush away any excess or splashed-on mortar from the stones using either your hand or a soft-bristle brush.
If there are any stubborn stains on your bricks after cleaning off excesses like dried-on dirt or grime spots that didn’t come off during the regular cleaning process, you can scrub them away with a diluted mix of muriatic acid. However, be careful while handling acids, as they can cause harm if not used properly.
Finally! Your brick raised garden bed is now complete and ready for filling with soil and mulch.
Step 6: Maintenance and Care
To ensure the longevity of your beautiful and functional brick oasis, don’t forget to give proper attention and care to your thriving green haven. Maintaining your brick raised garden bed is essential for its continued success.
Here are some tips for maintenance and care:
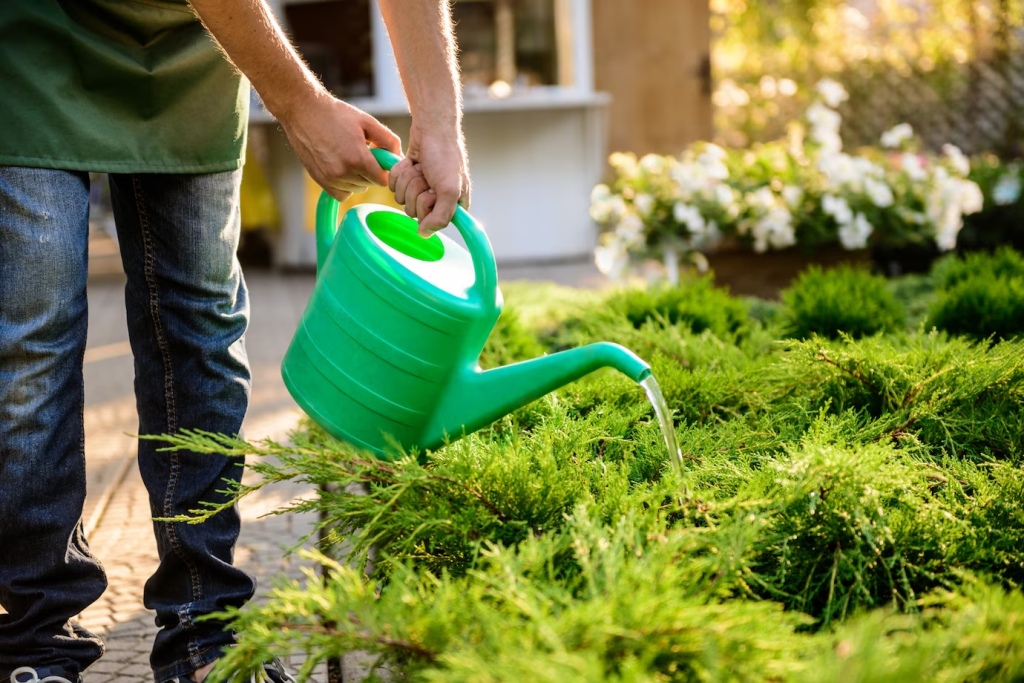
- Regular watering: Keep an eye on the moisture levels in your raised bed. Depending on the weather conditions, you may need to water more frequently or adjust the irrigation system accordingly. Consistent watering will help your plants thrive.
- Weed control: Weeds can easily find their way into any garden bed, including a brick raised bed. Regularly inspect and remove any weeds that pop up to prevent them from competing with your plants for nutrients.
- Pest management: Monitor your garden for pests such as snails, slugs, or insects that may damage your plants. Consider using organic pest control methods or physical barriers like hardware cloth to protect against tunneling pests.
- Soil maintenance: Over time, the soil in your raised bed may become compacted or depleted of nutrients. Add compost or organic matter annually to improve soil fertility and structure.
- Cleaning bricks: Occasionally clean the surface of your bricks to remove any dirt or stains that may accumulate over time. Use a damp rag or a diluted mix of muriatic acid if necessary, being careful not to splash onto nearby plants.
No products found.
The Bottom Line
So there you have it! Building a brick raised garden bed is a fantastic choice for sustainable gardening. It offers numerous benefits, such as improved soil quality and easier weed management.
By carefully choosing your bricks and ensuring they’re free from contaminants, you can create a safe environment for growing vegetables.
Follow the step-by-step process outlined above, and you’ll have no problems creating your own brick garden bed.
With careful planning and construction, you’ll have a permanent and visually appealing landscaping feature that will make gardening easier than ever before!
Frequently Asked Questions
How long does it take for the mortar to cure before filling the raised bed with soil?
The mortar used to construct a brick raised garden bed should be allowed to cure for at least 24 hours before filling the bed with soil. This way, the mortar has time to fully harden, providing stability to the structure.
Can recycled bricks be used for building a brick raised garden bed?
Yes, you can use recycled bricks. Nonetheless, it’s important to consider their origin and potential contaminants. Generally, new bricks are a safer option.
What is the recommended height for a brick raised garden bed without the need for a double brick wall?
The recommended height for a brick raised garden bed without the need for a double brick wall is up to 2 feet. This height is considered safe and stable, providing a solid structure for your garden.
How can I deter tunneling pests from entering the raised bed?
You can use hardware cloth to deter tunneling pests from entering your raised bed. Simply place it underneath the bed before filling it with soil. It will prevent pests from burrowing into your garden and causing damage.
What is the recommended soil mixture for filling the raised bed?
For filling the raised bed, it’s recommended to use a mixture of topsoil and compost. This combination provides the necessary nutrients for plant growth and helps improve soil quality.
Was it helpful?

Enamored with the world of golf Jack pursued a degree in Golf Course Management at THE Ohio State University. This career path allowed him to work on some of the highest profile golf courses in the country! Due to the pandemic, Jack began Inside The Yard as a side hustle that quickly became his main hustle. Since starting the company, Jack has relocated to a homestead in Central Arkansas where he and his wife raise cattle and two little girls.