
Imagine savoring a scrumptious cabbage steak, each of which crunchy layers is packed with delightful flavors and nutrients. Now picture the immense satisfaction of knowing that you’ve nurtured that very cabbage from a minuscule seed to a thriving, leafy wonder in your garden.

Cabbages, those leafy green wonders that fill our gardens and grace our dinner plates, are a staple in many international cuisines. But have you ever stopped to consider the journey they take to get from seed to sautée? As gardeners and food enthusiasts, it’s essential we understand this magical metamorphosis — both for the sake of nurturing a thriving crop and for appreciating the full complexity of our favorite dishes.
Let’s peel back the layers and explore the fascinating stages of cabbage growth! As a gardener, knowing the ins and outs of this process will not only improve your crop but also deepen your connection with the food that sustains us.
Cabbage: An Overview
Cabbage, a member of the Brassica family, is a versatile, leafy green vegetable that has been cultivated for centuries due to its rich flavor and nutritional value. Originating in Europe and the Mediterranean region, cabbage has been embraced by various cultures around the world, earning a prominent place in numerous international cuisines.
There are several types of cabbage, each with its unique characteristics:
- cannonball (green) cabbage,
- red cabbage,
- January King cabbage,
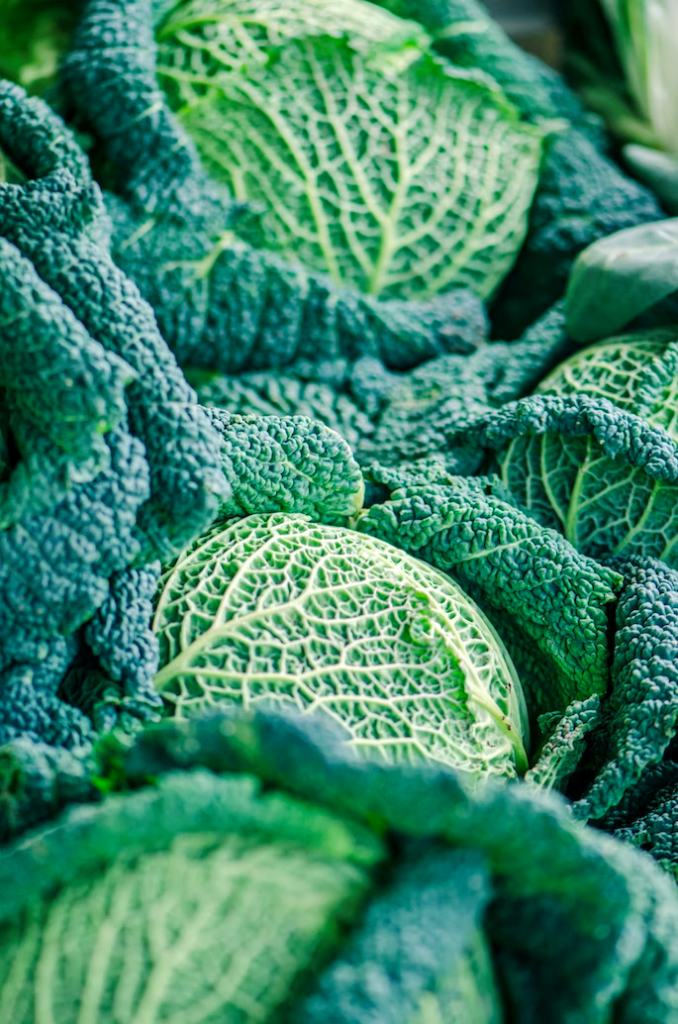
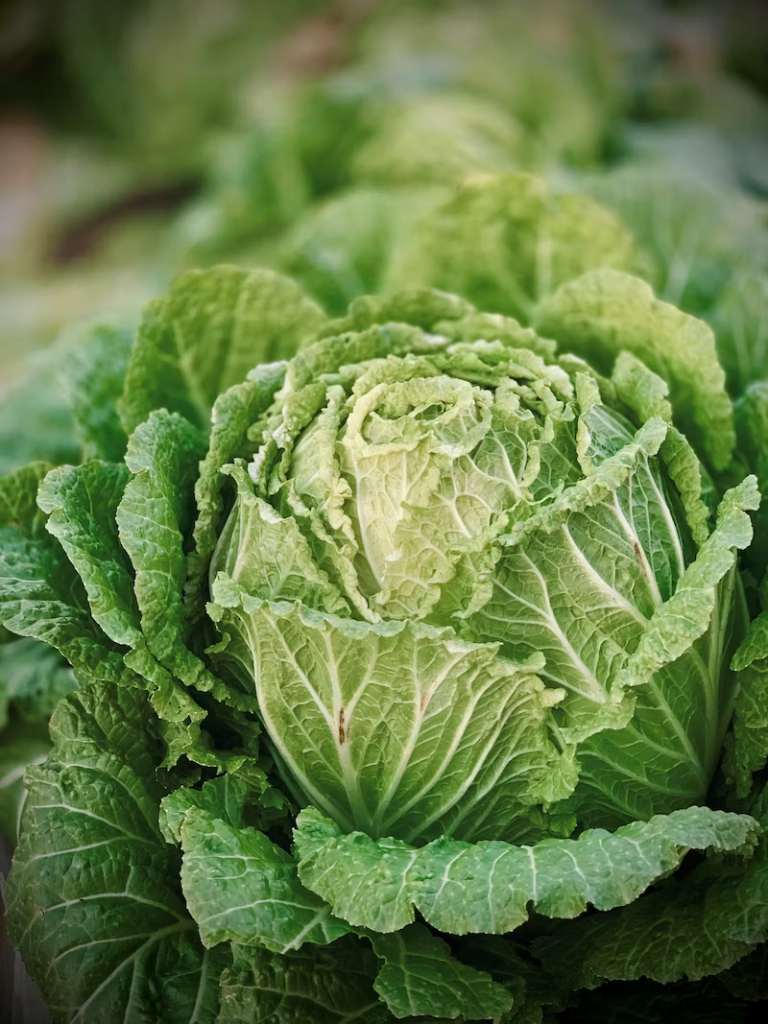
- savoy cabbage,
- Napa cabbage (Chinese cabbage),
- Brussels sprouts,
- kale,
- bok choy,
- choy sum.


Cabbages are not only delicious but also packed with essential vitamins and minerals, including vitamin C, vitamin K, and fiber. By understanding the unique traits of each variety and incorporating them into your garden and kitchen, you can enjoy the diverse flavors and health benefits of this remarkable vegetable.
Here are the cabbage growth stages and everything you need to know about them:
Germination Stage
The journey begins with germination when seeds are sown into moist soil or seed-starting trays.
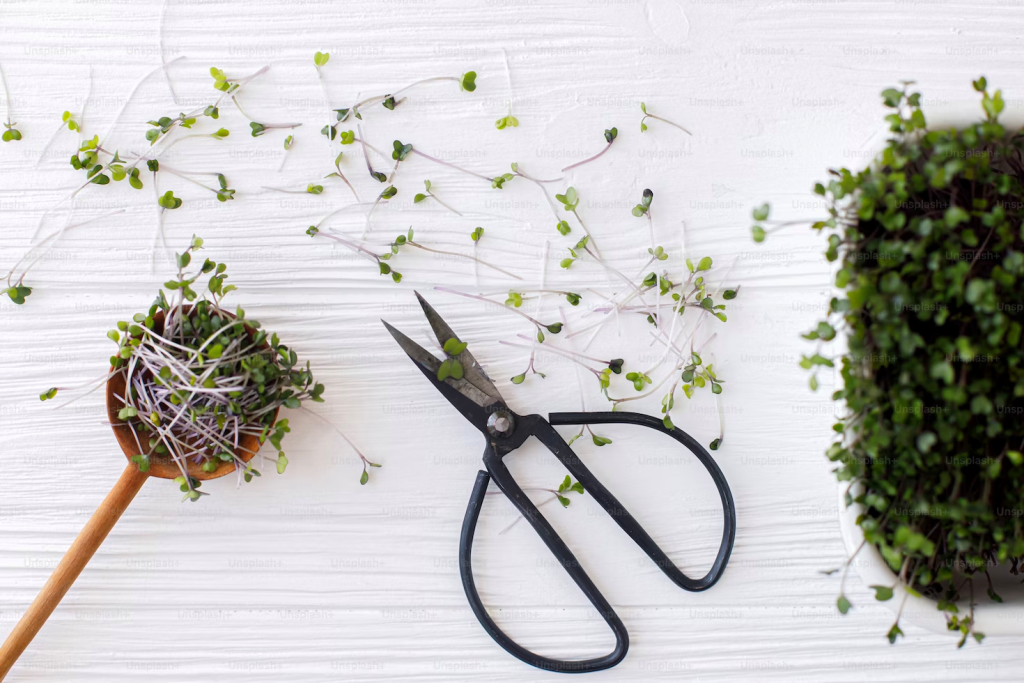
To start, select a high-quality seed variety that suits your region’s climate and soil type. Sow the seeds in moist soil or seed-starting trays, taking care to follow the recommended planting depth mentioned on the seed packet — usually about 1/4 inch deep.
Germination typically occurs within one to two weeks under ideal conditions, with germination temperature around 75°F. During this time, the minuscule seeds crack open, revealing their first roots and shoots, also known as radicles and plumules.
This miraculous moment is crucial for determining the future success of your cabbage crop. To ensure a successful germination process, here are a few practical tips:
- Consistent moisture. Maintaining consistent soil moisture is vital during this stage — too much water can cause the seeds to rot, while too little can hinder germination. Use a spray bottle or gentle watering method to keep the soil evenly moist but not waterlogged.
- Proper spacing. Adhering to appropriate spacing guidelines is essential for preventing overcrowded seedlings that struggle to compete for resources like light, water, and nutrients. Follow the seed packet instructions for optimal spacing or thin out seedlings once they develop their first true leaves.
- Temperature regulation. Monitor temperature levels closely since extreme fluctuations can adversely impact germination. Using a heating mat or maintaining your seed-starting trays in a consistently warm area can help regulate temperatures and promote faster germination.
- Adequate light. As soon as your cabbage seeds sprout, provide them with ample light exposure — 6-8 hours per day is ideal — to foster healthy growth. If planted in containers, place your seedlings near a sunny window or use artificial grow lights if natural light is insufficient.
- Pre-germination test. If you’re using older seeds or want to gauge their viability, conduct a seed germination test. Place a few seeds between moist paper towels, enclose them in a plastic bag, and store them in a warm location. Check for germination after a week; if the seeds sprout successfully, you can confidently sow them in your garden or seed-starting trays.
Seedling Stage
Once your cabbage seeds have sprouted (usually after 10-14 days of the germination stage), they enter the vulnerable seedling stage. This is where their tiny leaves work hard to photosynthesize and fuel rapid growth for a transition from seed to a baby plant.
This critical phase demands meticulous care and attention in several areas to ensure the successful development of your future cabbage crop:
- Watering. Seedlings require consistent moisture to thrive, but overwatering can lead to root rot and other issues. Allow the soil surface to dry slightly between waterings, then water gently and deeply to encourage strong root growth. Be cautious not to splash water onto the leaves, as this can promote disease.
- Temperature. Cabbage seedlings favor cooler temperatures, ideally 60-65°F during the day but now lower than 20°F at night. Monitor temperature levels closely and adjust accordingly to prevent heat stress or cold damage.
- Light exposure. Providing ample light exposure is crucial for healthy seedling development. Aim for at least hours of light per day and rotate your seedlings regularly to ensure even light distribution and prevent them from becoming leggy or leaning toward the light source.
- Nutrition. Once your seedlings develop their second set of leaves (known as “true leaves“), it’s time to start feeding them with a balanced liquid fertilizer. Apply a diluted solution every two weeks to supply the essential nutrients for robust growth. Be careful not to over-fertilize, as this can lead to weak plants being more susceptible to pests and diseases.
- Pest control. Vigilantly monitor your cabbage seedlings for common pests like aphids, flea beetles, and cutworms that prey on young plants. Implement organic pest control measures such as introducing beneficial insects like ladybugs or lacewings, using insecticidal soaps, or employing physical barriers like collars around the seedlings’ stems to protect them from cutworms.
During this stage, nourishing is of utmost importance since undeveloped, young radicles, leaves, and shoots are incapable of synthesizing their own food.
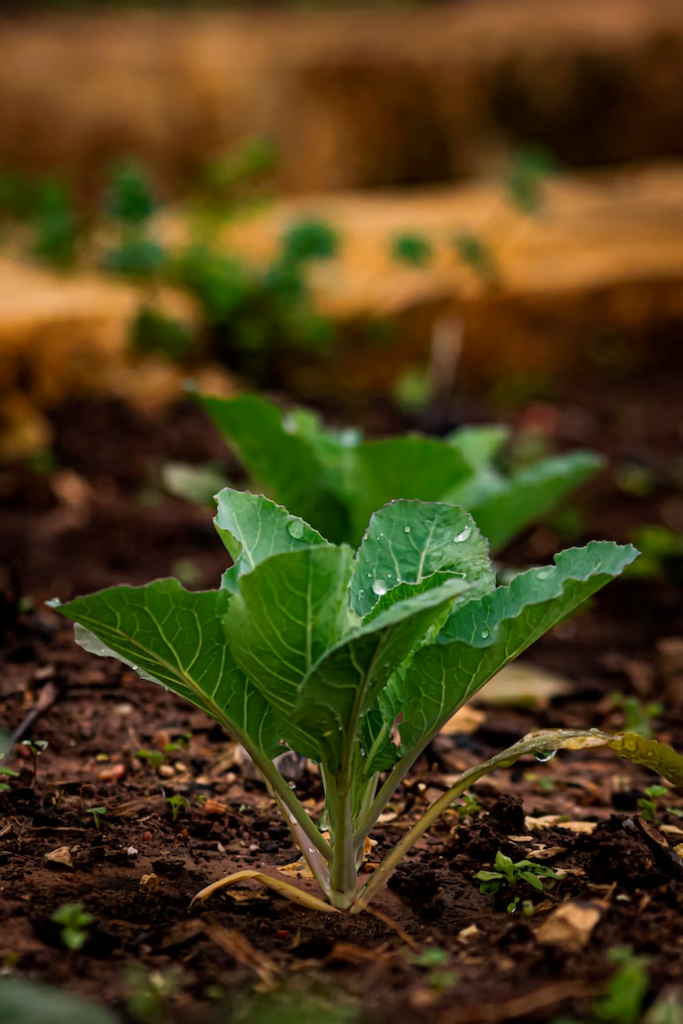
Vegetative Stage
The vegetative stage is when your cabbage plants put on most of their green growth, developing sturdy stems and vibrant foliage.
As they rapidly outgrow their seedling phase, it’s crucial to transplant them into the garden or larger containers with ample space for their expanding root systems. When your seedlings have developed 3-4 true leaves and are about 4-6 inches tall, they’re ready for transplanting. Space your plants approximately 18-24 inches apart to allow for ample root system expansion and airflow between plants, which can help prevent diseases.
As they transition from seedlings to more mature plants, cabbages focus on accumulating energy and nutrients in preparation for head formation. As such, it’s crucial to provide the necessary care and attention:
- Watering. Consistent watering is critical during the vegetative stage, as cabbages require a steady supply of moisture to support their rapid growth. Aim to provide about 1-2 inches of water per week, either through rainfall or supplemental irrigation, ensuring deep and even soil penetration.
- Fertilization. To promote robust vegetative growth, apply a well-balanced fertilizer every 3-4 weeks, following package instructions for proper application rates. Consider using slow-release granular fertilizers or organic options like compost or well-rotted manure to provide essential nutrients throughout the growing season.
- Weed management. Keep the area around your cabbage plants weed-free to reduce competition for nutrients and water. Utilize mulch to suppress weed growth while also conserving soil moisture and maintaining consistent soil temperatures.
- Disease prevention. Practice crop rotation by avoiding planting cabbages in the same location where members of the Brassica family (such as broccoli, cauliflower, or kale) were grown in the previous season. This helps reduce the risk of soil-borne diseases. Additionally, remove any diseased or damaged leaves promptly and avoid overhead watering to minimize the spread of fungal infections.
- Support. As your cabbage plants grow and develop heavy heads, they may require additional support to prevent them from toppling over. Use stakes or cages to provide stability, being cautious not to damage the roots while installing them.
Flowering Stage
The final stage in the life cycle of cabbage plants involves the production of flowers, marking the culmination of their growth and development. Once all the plant structures are fully mature, the cabbage plants become capable of flowering.


Cabbage plants are biennials, meaning they typically flower in their second year of growth (they germinate and grow vegetative in the first year).
However, certain factors, such as prolonged cold temperatures (10 days or more in temperatures between 35-40°F) or stress during the vegetative stage, may trigger premature bolting and flowering, diverting energy away from the head formation.
To avoid this, monitor your plants and maintain optimal growing conditions throughout the life of your cabbage plants:
- Stress prevention. To avoid premature bolting and flowering, closely observe your cabbage plants for signs of stress. Ensure they receive consistent water, adequate nutrients, and protection from extreme temperatures. Additionally, make sure that pests and diseases are promptly addressed to keep your plants healthy.
- Overwintering. If you intend to allow your cabbages to flower — either for ornamental reasons or seed production — you’ll need to let them overwinter in the garden. Protect the plants by adding a layer of mulch around their base to insulate the roots from freezing temperatures.
- Spring flowering. As winter recedes and spring arrives, cabbage plants will send up tall flower stalks topped with clusters of small, yellow flowers that attract pollinators such as bees and butterflies. These flowers play a crucial role in producing seeds for future crops.
- Pollination considerations. Flowering cabbages can cross-pollinate readily with other Brassica family members (broccoli, cauliflower, kale), potentially resulting in unwanted hybrid seeds. To avoid this issue when saving seeds, consider planting different varieties at least 1 mile apart or use physical barriers like row covers to isolate flowering plants.
When the flowers eventually emerge and give way to elongated seed pods filled with tiny seeds, this signals that the cabbage plants have reached the end of their life cycle. As they complete their reproductive process, the plants begin to die, with their resources now invested in the next generation through their seeds.
If you wish to continue cultivating cabbages, it is essential to collect the seeds and sow them for future crops. Here is how:
- Allow seed pods to mature and dry out on the plant until they turn a tan or brown color.
- Carefully remove the entire stalk from the plant and place it in a dry, well-ventilated area to continue drying for another week or two.
- Once completely dry, thresh the pods to release the seeds and store them in a cool, dark place until it’s time to sow your next cabbage crop.
To initiate a new cycle, plant the harvested cabbage seeds and provide them with appropriate care until they germinate. The germination will kickstart a new journey in which seedlings eventually grow into mature plants capable of producing flowers and seeds once again!
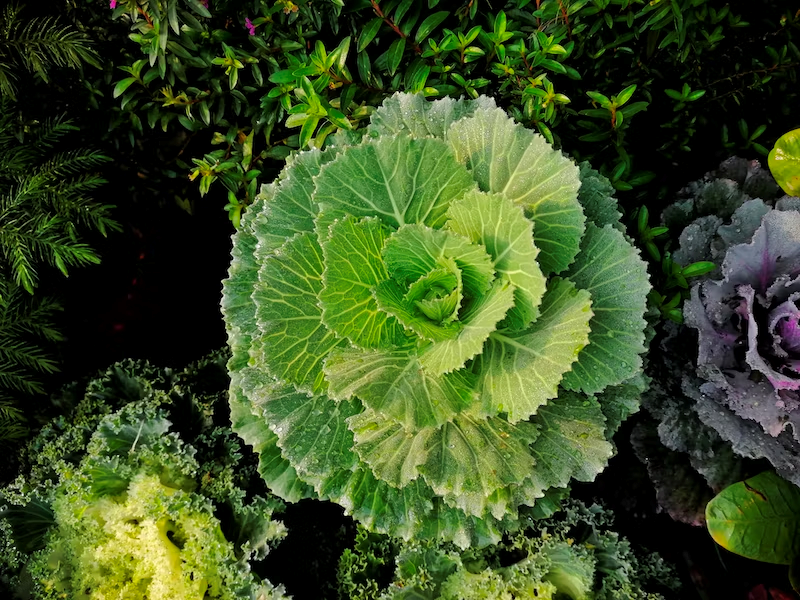
Fruiting Stage
Following the culmination of the flowering stage, which encompasses both blooming and bolting, the cabbage plants enter the fruiting stage.
During this phase, the leaves of the plant start to form compact cabbage heads, signifying that they are nearing readiness for harvest. Typically, this takes 80 to 180 days when grown from seed or around 65-105 days if grown from transplants; however, the harvest period may vary depending on the variety.
The entire life cycle of cabbage plants usually reaches completion in two growing seasons.
As the cabbage heads develop, it’s crucial to monitor their growth and ensure that they receive proper care. Consistent watering, balanced fertilization, and protection from pests and diseases remain essential practices for cultivating healthy and bountiful cabbage heads during this stage.
Once the cabbage heads have reached their optimal size and firmness, as determined by gently squeezing them, it is time to harvest your crop. Harvesting at the right time ensures that you enjoy the full flavor and nutritional benefits of your homegrown cabbages.
Final Note
From the first stirrings of germination to the final formation of cabbage heads, each stage of the cabbage growth cycle is a testament to the wonders of nature and gardening. As we unravel the intricate process that transforms tiny seeds into flavorful, nutrient-rich vegetables, we become better equipped to nurture and cultivate these leafy green marvels.
By attentively caring for your cabbages through each growth stage and addressing their unique needs, you lay the groundwork for a bountiful harvest that will grace your dinner plates with delicious dishes.
So, let’s celebrate the captivating journey of cabbage growth and continue to uncover the secrets hidden within their layers! Whether you’re tending a sprawling garden or nurturing a single potted cabbage on your balcony, let this guide empower you to make every leaf count.
After all, there’s nothing quite as satisfying as savoring a dish made with homegrown cabbage nurtured from seed to harvest.
Was it helpful?

Enamored with the world of golf Jack pursued a degree in Golf Course Management at THE Ohio State University. This career path allowed him to work on some of the highest profile golf courses in the country! Due to the pandemic, Jack began Inside The Yard as a side hustle that quickly became his main hustle. Since starting the company, Jack has relocated to a homestead in Central Arkansas where he and his wife raise cattle and two little girls.