
Don’t know how to install an hour meter on a riding mower? You need a few tools and access to the right spot with a proper concept, that’s all.
If the lawn maintenance is making you go broke, don’t worry, we got your back. We’ll help you with a step-by-step guide to install an hour meter on a riding mower.
You will become a pro after today and save all the money your dealership store is eating!
When you go to a dealership store for installing an hour meter, the shop literally empties your pocket. You have to pay $40-$50 only for an hour meter and separately pay a few more bucks for the ‘labor’ he does to install your hour meter.
However, installing an hour meter isn’t rocket science. Anybody can do this with a little bit of guidance and help. And don’t worry we’re here to be your installation guide.
How To Install Hour Meter on Riding Mower: Step By Step Guide
Before starting the process, first collect all the tools you need. Because, as wise men say, before cutting the tree, sharpen the axe first.
The tools you’ll be needing here are-
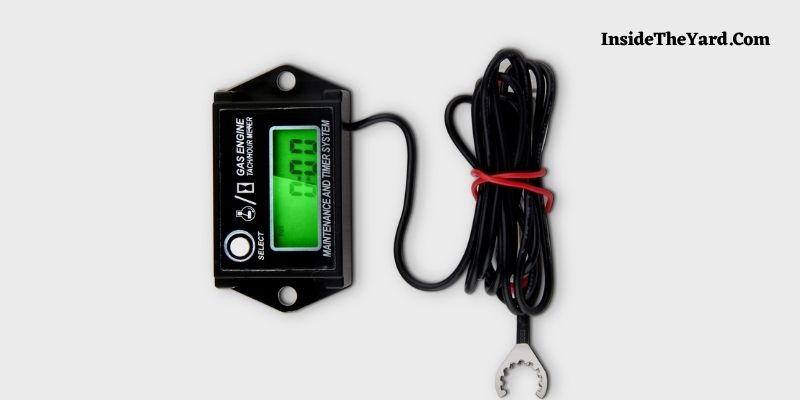
- an hour meter
- a wire
- a zip tie
- a weatherstrip (double-sided) and
- a 764th drill bit
It can take a maximum of 20-25 minutes, and you’re good to go.
Let’s start the process!
- Step 1: Take your riding mower and place it in a spacious space with enough light so that you can work without any inconvenience. Look carefully, there are three bolts on the top of the pull system. Start by removing those nuts and eventually the whole front cover. Removing the front cover will make reaching the plug wire right over the engine and setting up the meter. Pull the cover straight up, it should come off easily.
- Step 2: Flip over the front cover. You’ll notice different sections. Select a route/path by which you’ll wrap the wire inside the front cover all way back to the place where you’ll install the hour meter. For the meter select a place on the outer side of the cover.
[Pro Tip: select the path that won’t heat up the wire while using the mower.]
- Step 3: Now back to the mower. Remove the plug wire. Take the spare wire you brought and undo it. Measure the length of the spare wire and make sure it’s long enough to cover the route and reach to the back where you’re going to set the hour meter.
- Step 4: Take the plug wire again. Get it all the way up. Take the spare wire and wrap it around the plug wire 4-5 times tightly, creating two ends at last. If you start wrapping spare keeping the first few bits off, you’ll get two ends. Bring those two ends together, hold them close and tight and tie them with the zip tie. Cut the extended zip tie.
- Step 5: Now take the extended end of the wire that is left and start wrapping it around the path you’ve selected earlier to the final bottom. Take the weather stripping, measure it, and cut it into different sections.
[Pro tip: Use weatherstripping not tape because they are double-sided. Which not only going to stick the sides but also keeps the wire in place.]
- Step 6: Now go to the place where you’ll mount the hour meter and drill a couple of holes using that 764th drill bit carefully. You’ll be needing three holes—two for the meter and one for the wire. Make sure the wire hole is big enough to fit the wire inward to outward. Secure the hour meter by fixing two nuts in the holes and twisting the wire in the big wire hole into the meter.
- Step 7: Flip the front cover. Place it back in its place. Look for those first three nut bolts and place them accordingly to fit them back in their place. Recheck every bolt. If everything looks fine, it seems you’re done. Great work!
A Helpful Tutorial You May Need!
Frequently Asked Questions (FAQs)
What is an hour meter?
An hour meter is a gauge or instrument that measures and records time passage in hours and tenths of hours. The majority of hour meters are used to record the amount of time that equipment has been running in order to ensure that expensive devices or systems are properly maintained.
Do riding mowers have hour meters?
No, originally, they don’t. But you can buy and install an extra digital hour meter according to your preference and install it on the riding mower by following the aforementioned installation process.
Does Toro TimeCutter have an hour meter?
Most of them don’t. The consumer can install it manually if they want.
How To Install An Hour Meter On An Electric Motor?
The process is the same for an electric motor or riding mower. Following this same process described here, you’ll be able to figure out how to install an hour meter on an electric motor or on a lawnmower all by yourself.
Conclusion
Now the final part. Test the riding mower before starting. If the hour meter blinks continuously, then everything is working properly.
Try to install it even before filling gas and oil. That way, you can track the time and engine activity right from the beginning.
Self-installing may seem difficult at first. But trust the process and start following bit by bit, you’ll be able to install it in a jiffy. Not only you’ll be pro at how to install an hour meter on a riding mower but it’s gonna save you a good amount of money.
Even though the shown procedure is quite straightforward, but if you’re underage, please take the help of an adult while drilling and other stuff.
You Can Also Read:
- How to Reset Hour Meter on Husqvarna Riding Mower
- How to Lower Deck on Dixie Chopper: Steps to Proper Deck Height
- How to Make A Leaf Blower More Powerful Like a New One?
- How to Adjust Carburetor On Echo SRM 225? [A Step By Step Guide]
- How Many Ohms Should a PTO Clutch Have? The Best Idea for you
Was it helpful?

Enamored with the world of golf Jack pursued a degree in Golf Course Management at THE Ohio State University. This career path allowed him to work on some of the highest profile golf courses in the country! Due to the pandemic, Jack began Inside The Yard as a side hustle that quickly became his main hustle. Since starting the company, Jack has relocated to a homestead in Central Arkansas where he and his wife raise cattle and two little girls.